Prepare Azure Account for Onboarding
Please follow the instruction to prepare your Azure account for onboardiing into the product.
- Sign-in to https://portal.azure.com/ Console & click as directed in screen below
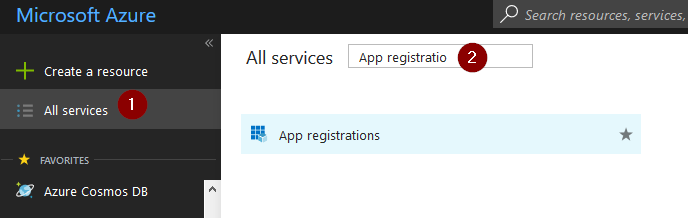
- Register a new application, with following information
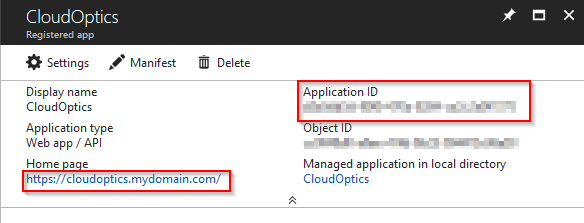
- Display Name - CloudOptics
- Home Page - Intended login URL for CloudOptics
Once created, copy Application Id value in a notepad as “Client Id”
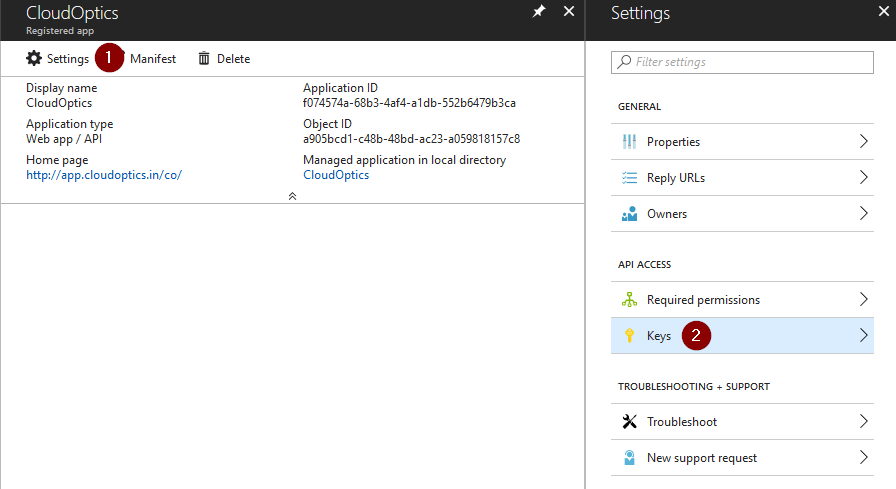
- Click on “Settings” then further on “Keys” as per screen below
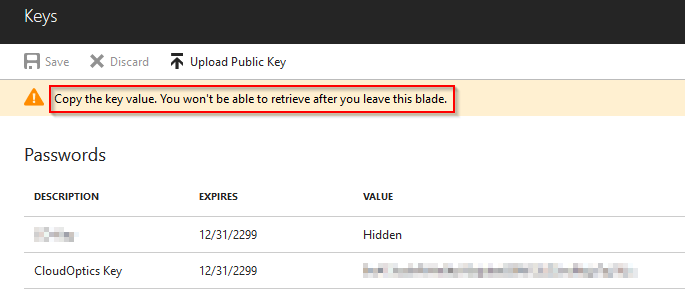
4. Create a new key with name “CloudOptics Key”, expiry date as “Never Expires” and hit save. Once saved value filed will be shown. Please copy the value field in a notepad as “Azure Secret Key”
Warning
This value will not be shown again. So it is important to make a note of it.
- Go back to portal home and follow the sequence as directed below and copy the Directory ID as “Tenant Id”
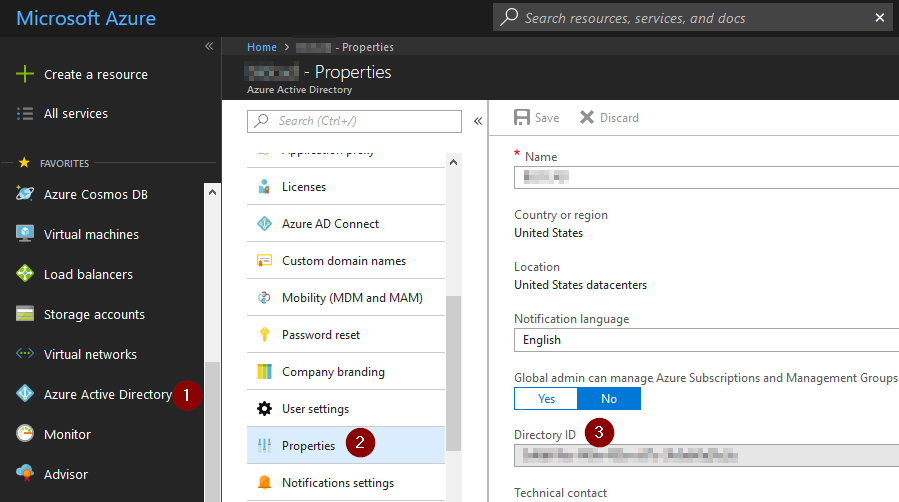
- From the portal, find out “Subscription ID”

You should now have 4 values in the notes. These values will be used in CloudOptics to onboard this Azure account
- Client ID
- Secret Key
- Tenant Id
- Subscription Id
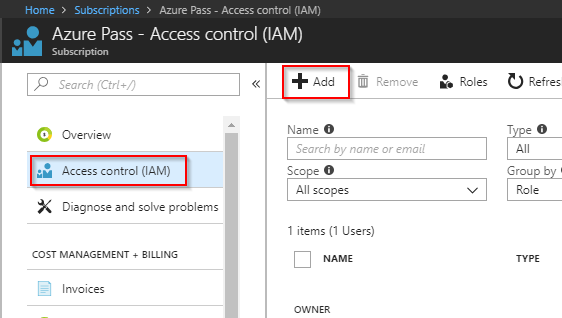
- Go to relevant Azure subscription and open Access Control (IAM) and click “Add”
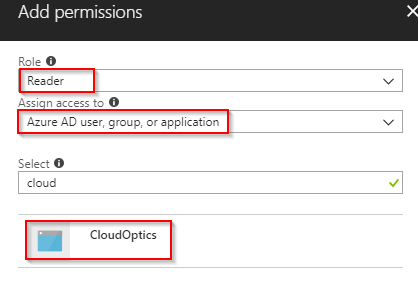
- Add the permissions of a “Reader” role to “CloudOptics” Application
Your Azure Account is now ready to be added in CloudOptics